The Essential Guide to the Pool Plastering Process
Every swimming pool, whether newly built or renovated, eventually requires attention to maintain its aesthetic appeal and structural integrity. One of the most critical aspects of pool renovation is the pool plastering process. In this comprehensive guide, we will explore the various facets of the plastering process, from fundamental concepts to advanced techniques, ensuring you have all the knowledge needed for a successful outcome.
Understanding the Importance of Pool Plastering
The pool plastering process is vital for several reasons:
- Surface Protection: Plaster acts as a protective layer shielding the underlying structure from water and chemicals.
- Enhancing Aesthetics: A well-executed plaster job adds beauty and enhances the overall appeal of your swimming pool.
- Improving Longevity: Properly applied plaster can significantly prolong the life of your pool, reducing repair costs in the long run.
Choosing the Right Materials for Pool Plastering
Before diving into the pool plastering process, selecting the appropriate materials is crucial. The primary options include:
- Traditional White Plaster: Made from cement, sand, and water; it’s the most common choice.
- Colored Plaster: Similar to white plaster but includes pigments that allow for customization.
- Aggregate Finishes: This includes quartz or pebbles in the plaster mix, providing a textured surface that enhances durability.
- Tile: Though not plaster, tile finishes can be used for those wanting a luxurious look.
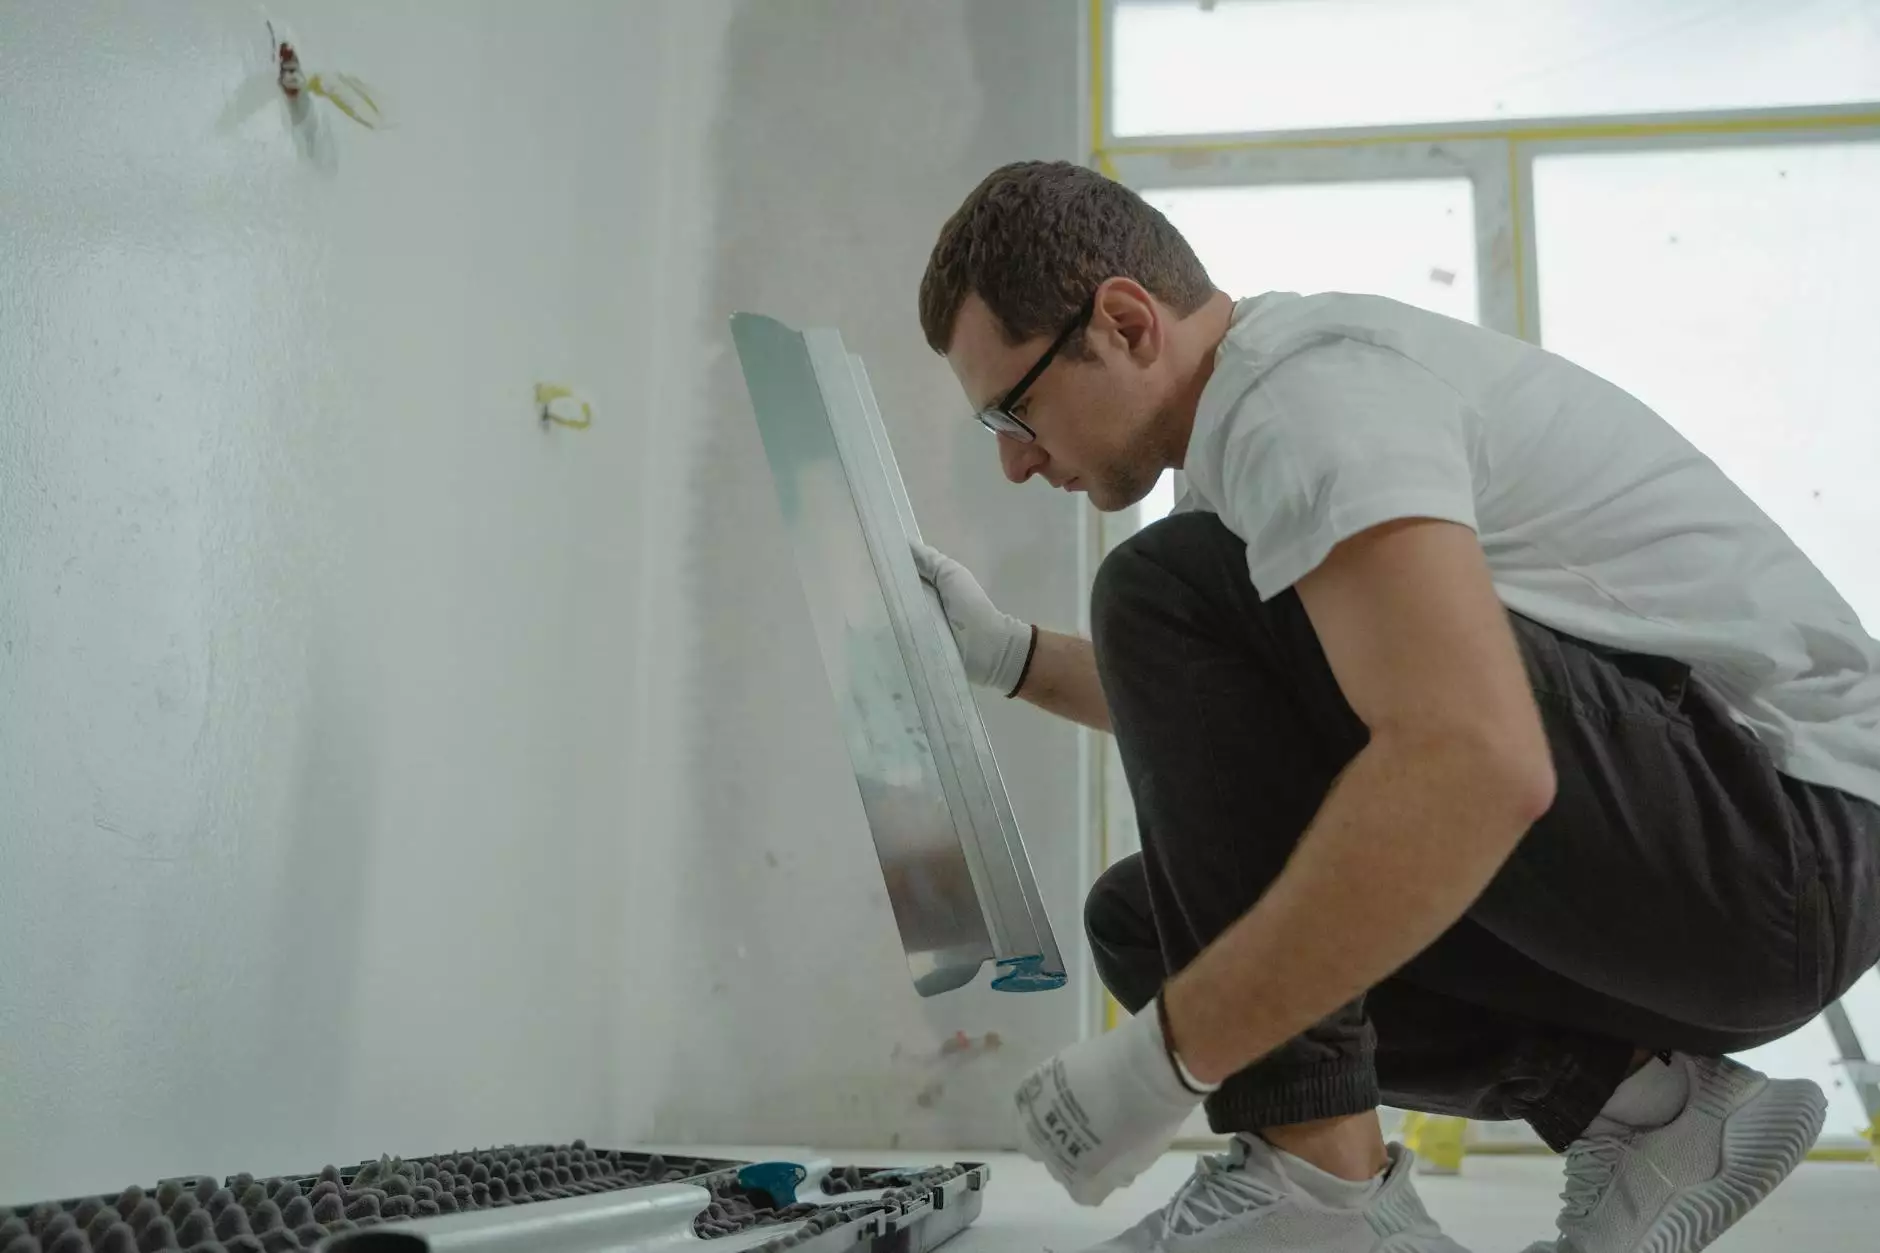
Preparing for the Pool Plastering Process
Preparation is key in ensuring a smooth and lasting finish. Follow these steps:
1. Draining the Pool
Start by draining the pool entirely. This ensures that you have a clean slate to work with, free from water and debris.
2. Cleaning the Surface
Once drained, thoroughly scrub the walls and floor of the pool to remove any dirt, algae, or old plaster particles. A pressure washer can aid in this process.
3. Inspecting for Damage
Examine the pool structure for any cracks or damages. Repair these using appropriate materials to ensure a solid foundation for your new plaster.
4. Applying Bond Coat
A bond coat is a thin layer applied over the old surface to promote adhesion of the new plaster. This step is crucial; without it, your plaster might not adhere properly.
The Pool Plastering Process: Step-by-Step
Now that you have prepared the pool, you're ready for the main event: the pool plastering process.
Step 1: Mixing the Plaster
Follow manufacturer instructions for mixing your chosen plaster. Achieving the right consistency is critical – it should be thick but workable.
Step 2: Applying the Plaster
Using a trowel, begin applying the plaster starting from the deep end of the pool and working your way to the shallow end. Maintain an even thickness of at least 3/8 inch to ensure durability.
Step 3: Smoothing the Surface
After the initial application, use a float to smooth the surface. This step requires skill to ensure a perfectly even finish, which enhances the aesthetic appeal of your pool.
Step 4: Curing the Plaster
Curing is a crucial phase. Keep the newly plastered surface wet for at least 7 days, using a hose or misting system. This allows the plaster to set properly, reducing the likelihood of cracking.
Step 5: Water Filling
Once fully cured, you can fill the pool with water. Be cautious and ensure that the filling process is gradual to prevent any stress on the new plaster.
Post-Plastering Care and Maintenance
After the pool plastering process, proper maintenance is vital for preserving your investment:
- Balance Water Chemistry: Regularly test and adjust the chemical balance in your pool to prevent damage to the plaster.
- Routine Cleaning: Keep the pool clean from debris, and vacuum regularly to maintain a pristine appearance.
- Monitor for Damage: Check the plaster periodically for cracks or signs of wear and address them promptly.
Common Mistakes to Avoid During the Pool Plastering Process
Even seasoned professionals can make mistakes. Here are common pitfalls to avoid:
- Poor Surface Preparation: Neglecting to clean and properly prep the surface can lead to adhesion issues.
- Incorrect Mixing Ratios: Following the manufacturer's guidelines is crucial; deviations can result in a weak plaster layer.
- Rushing the Curing Process: Cutting short the curing time can lead to cracking and a less durable finish.
Innovations in Pool Plastering
The industry is continually evolving, with innovations that enhance the pool plastering process. Some trends include:
- Eco-Friendly Options: Many brands now offer environmentally friendly plaster mixes, reducing the environmental impact of pool renovations.
- Advanced Textures: New techniques allow for a variety of textures that can mimic natural stones or provide slip-resistant surfaces.
- Color Consistency Improvement: Improved pigment technology has resulted in more consistent colors, providing a more uniform appearance.
Conclusion
The pool plastering process is a fundamental aspect of maintaining the beauty and functionality of your pool. By understanding the materials, preparation steps, application techniques, and ongoing care, you can ensure that your pool remains a sparkling oasis for years to come. For top-notch results and professional assistance, consider reaching out to experts like those at poolrenovation.com, who specialize in swimming pools and water heater installation/repair. Transform your pool into a true masterpiece with the right knowledge and approach!